
We have decided to part with our 2003 Kawasaki Nomad. We only racked up 8,000 miles and decided it is time to sell. Contact us via our email address below for more information.

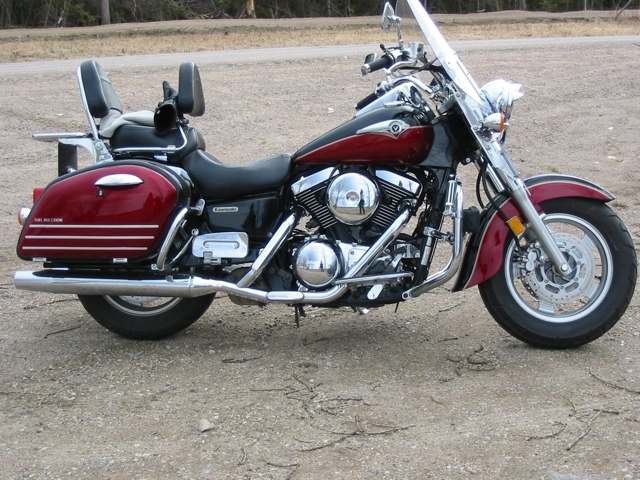
There are some very cool looking Nomads out there. We have not done much to enhance the appearance of our Nomad, but check the reader's rides below--You don't have to look to HD for a beautiful and functional cruiser!!!! If you ride a Nomad, send me pics to post to give other riders some inspiration. Who knows, perhaps the Nomad will become the bagger of choice!!
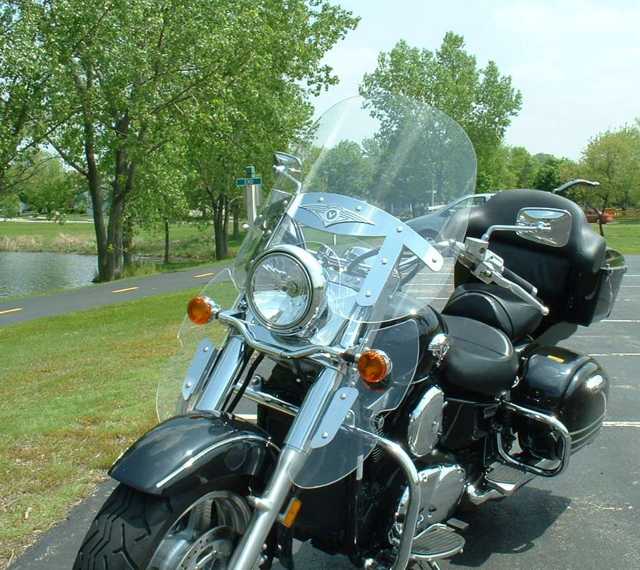
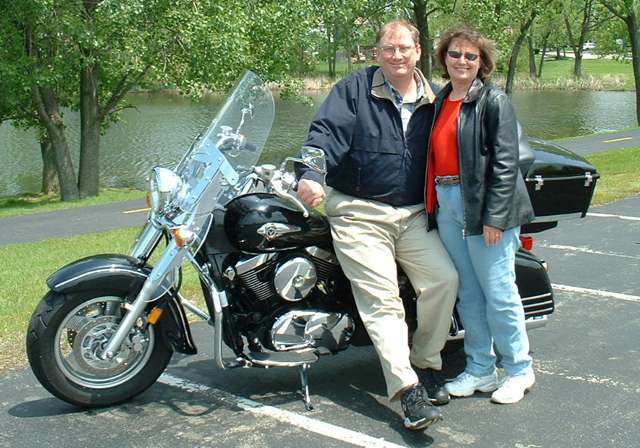
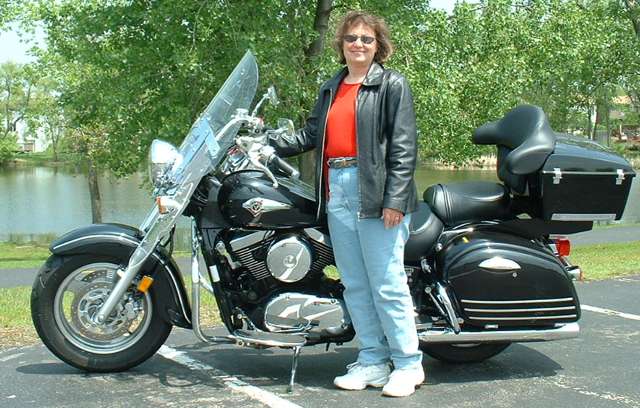
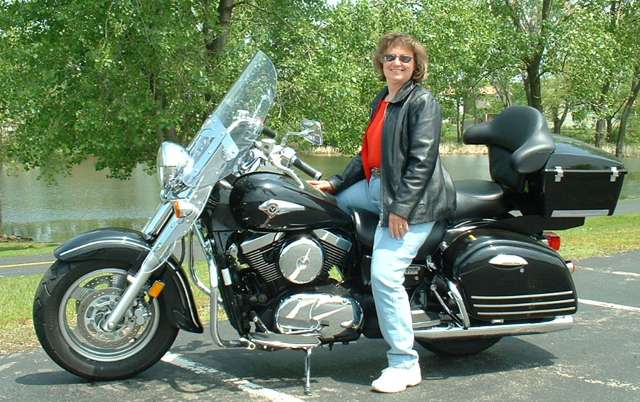
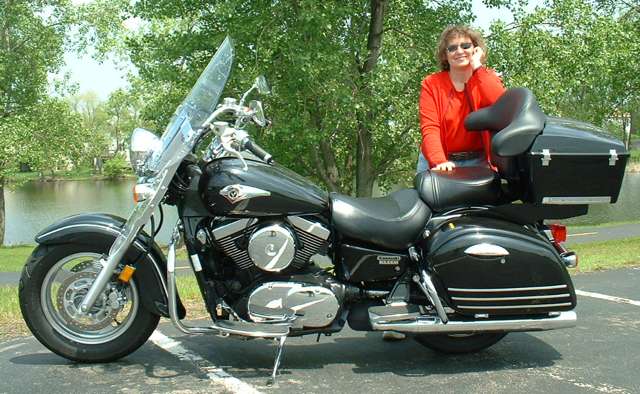
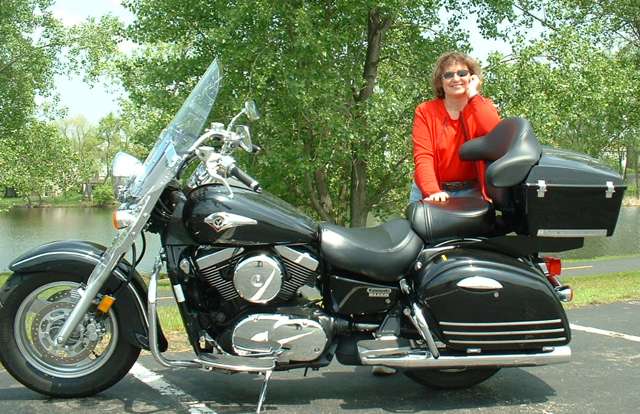
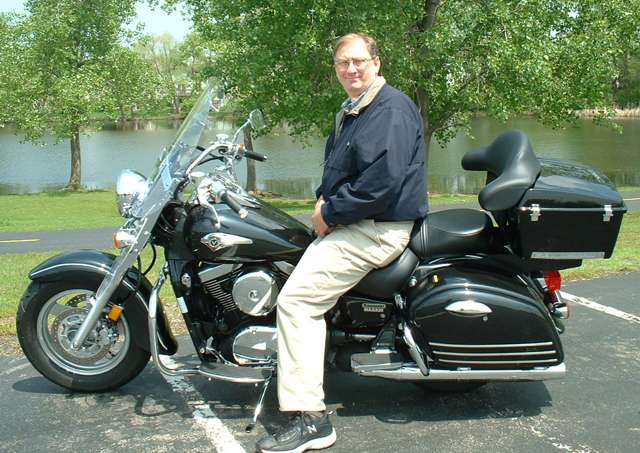
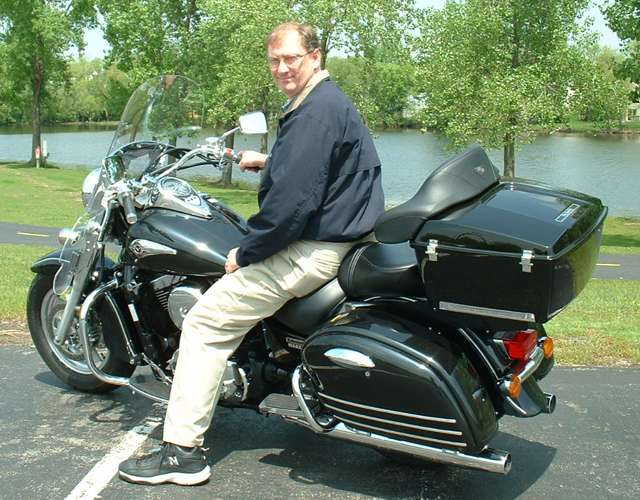
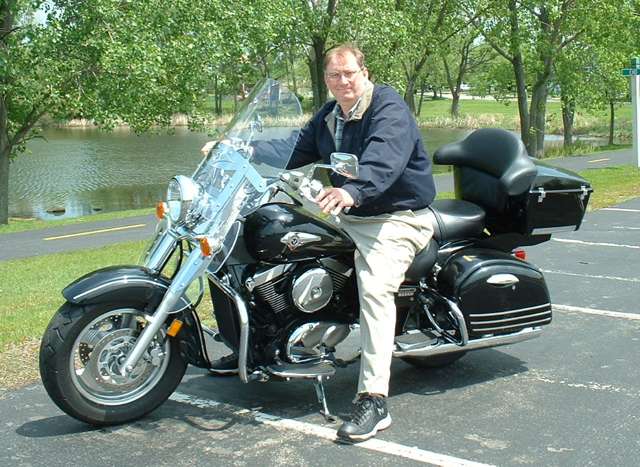
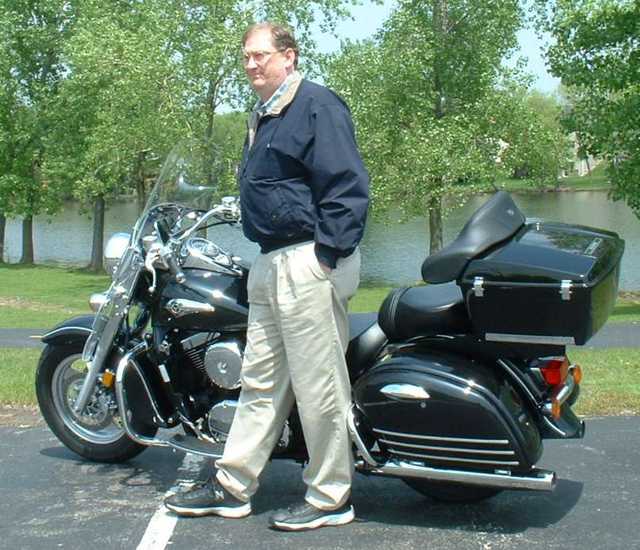
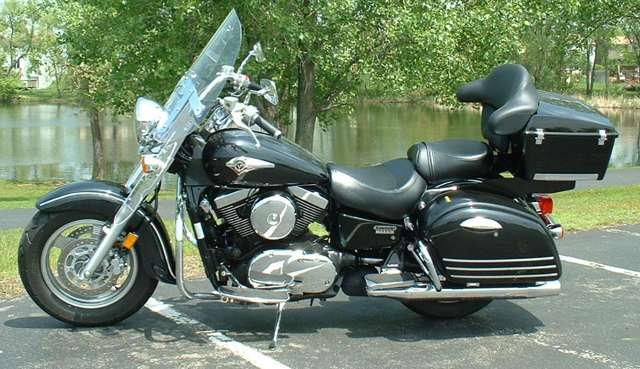
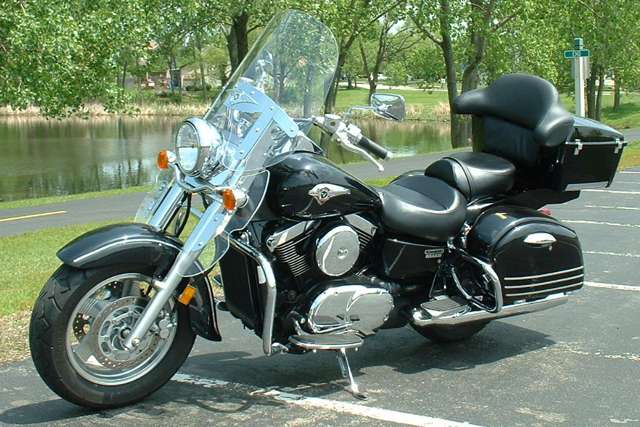
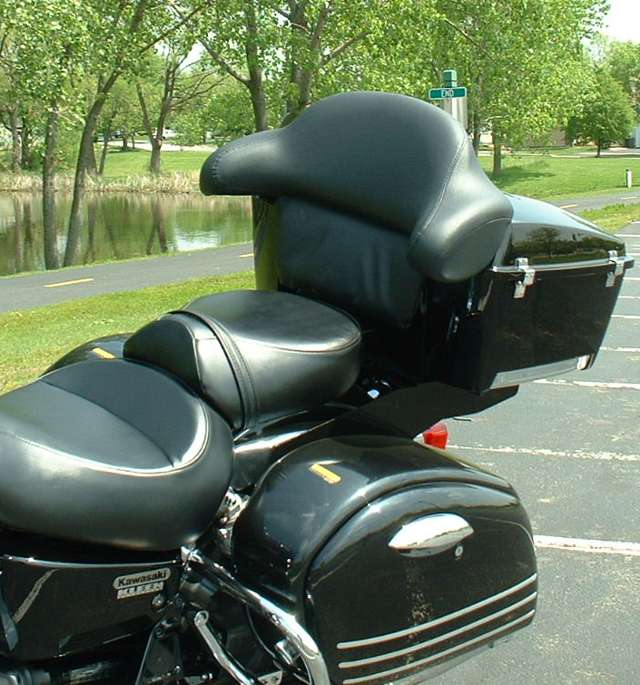
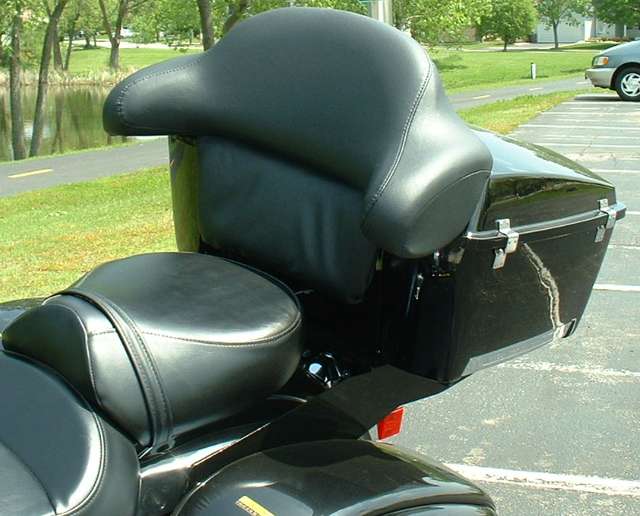
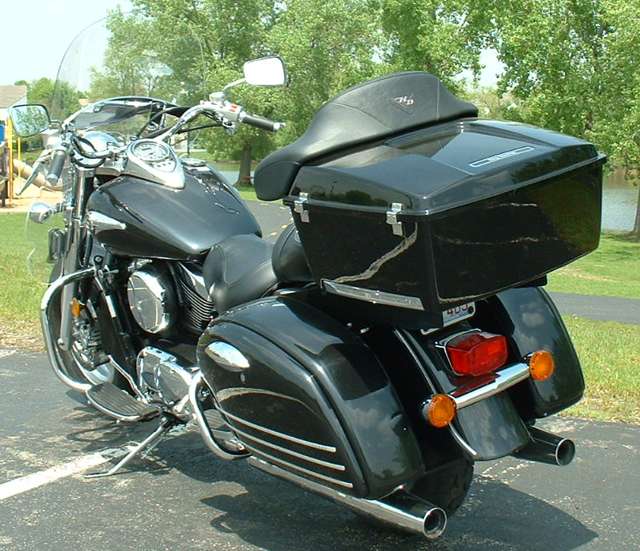
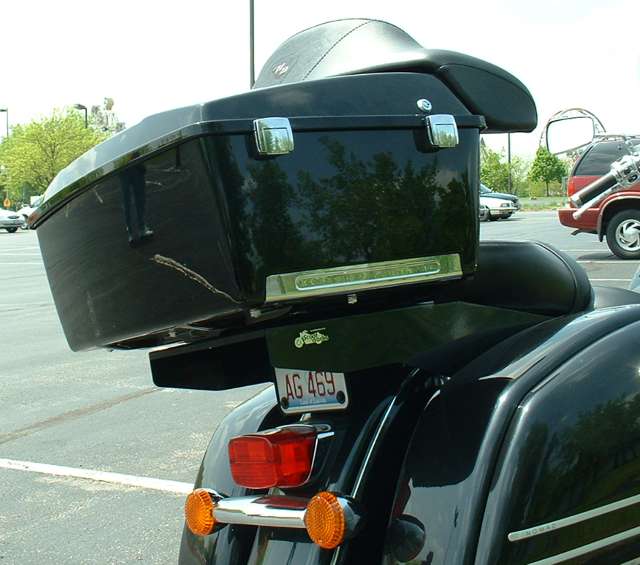
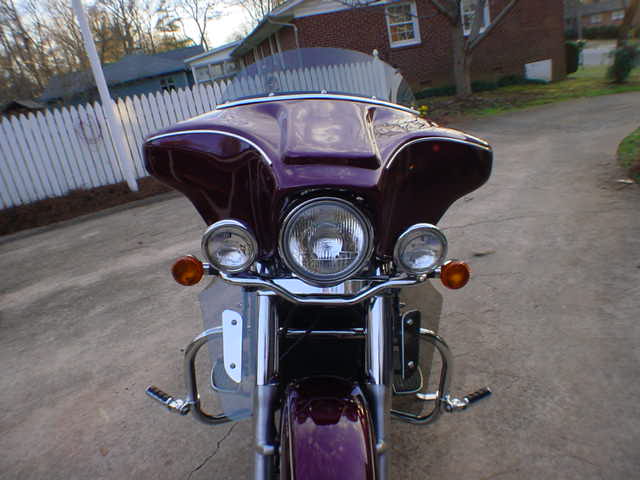
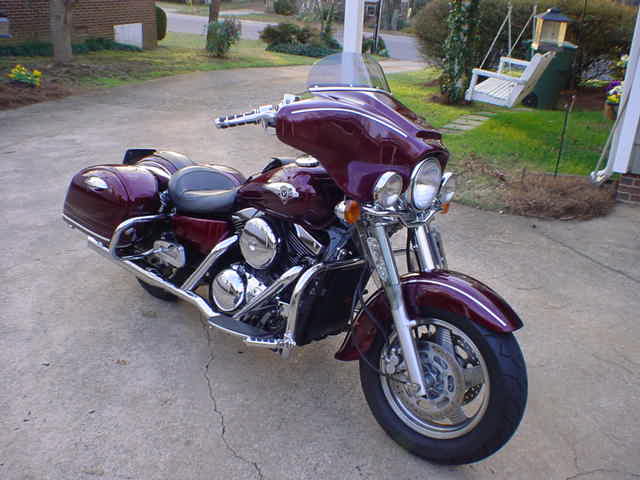
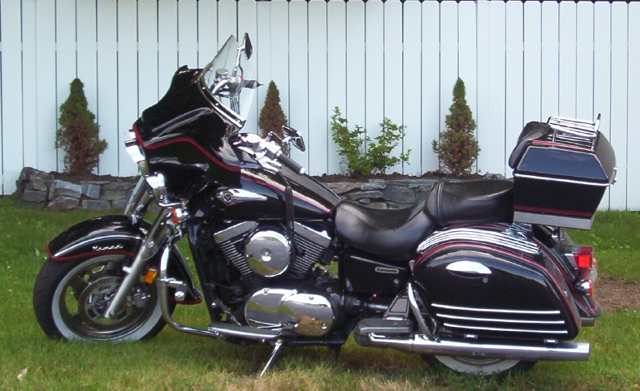
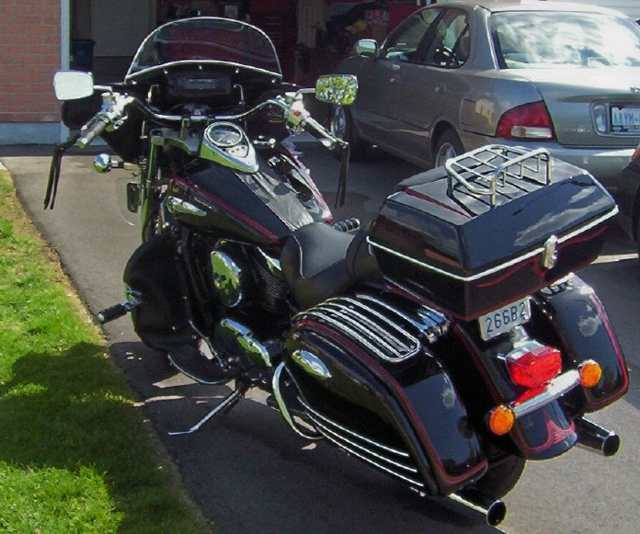
As you can see I've added a fairing, which houses a radio. Since my wife does not ride I removed the rear seat and shaved the riders seat 2 & 1/2" and also brought it in 2" on each side It gives the bike a lowered look plus does sit a little more comfortable for me ( I'm 6' 2" ). The pipes are Cobra's and you know I'm in the neighborhood but it's not too loud. The one picture shows a travel pack I use when traveling. It's primarily a back rest and is fastened by two bungee cords--it Works great.
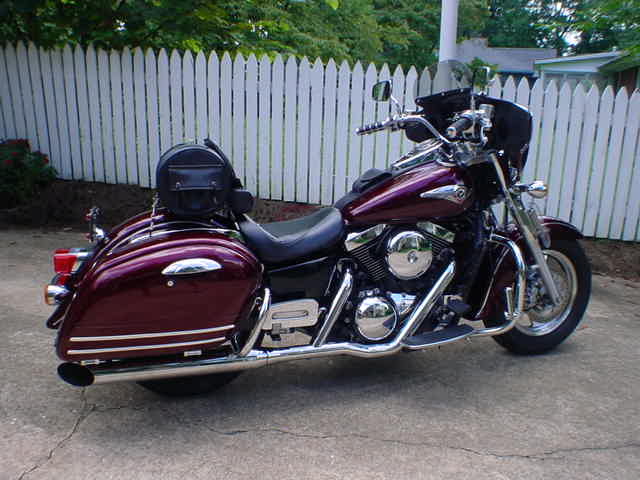
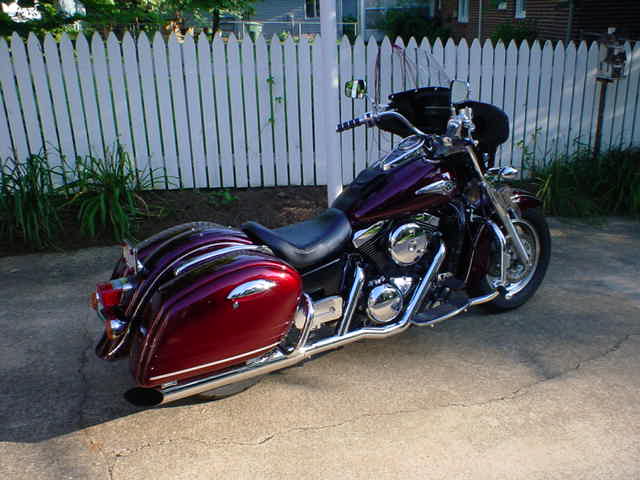
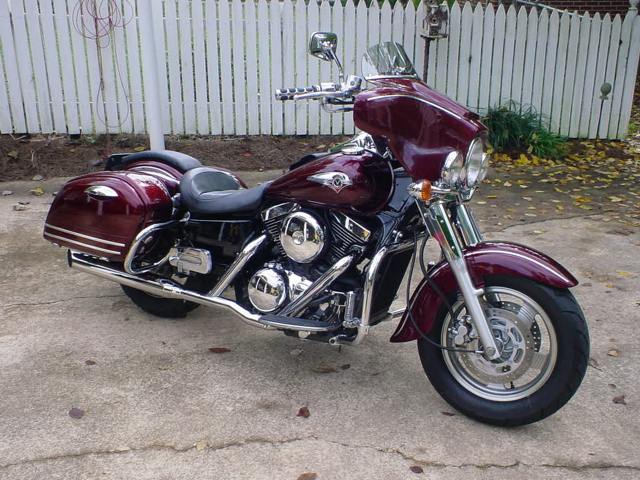
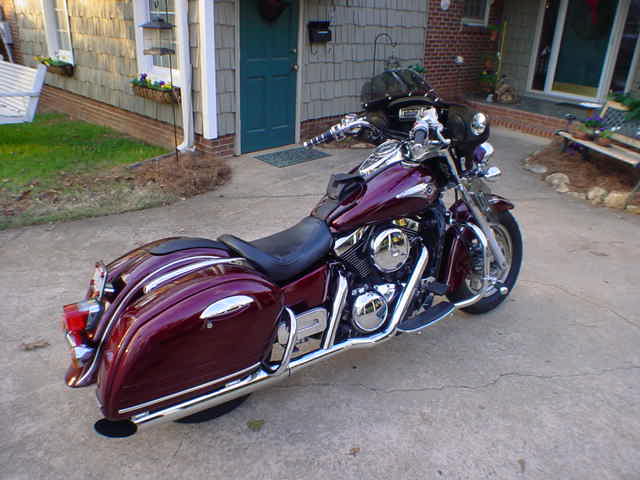
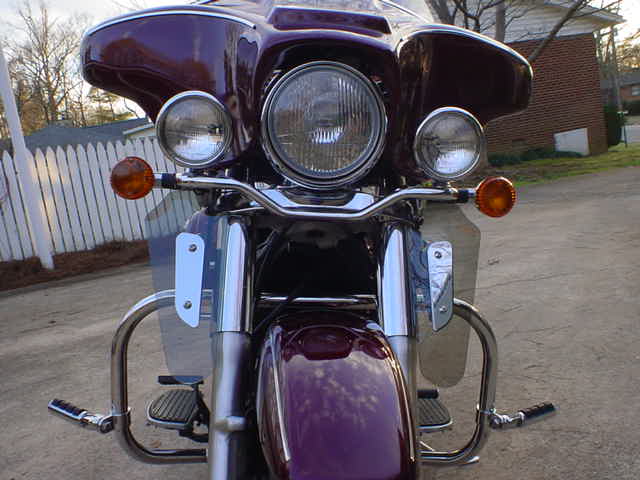
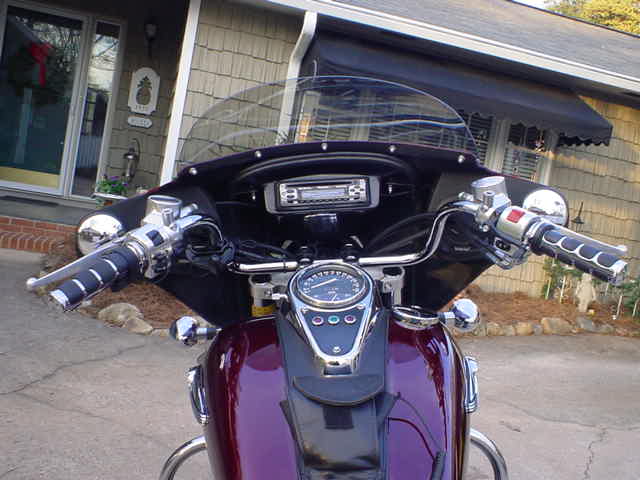
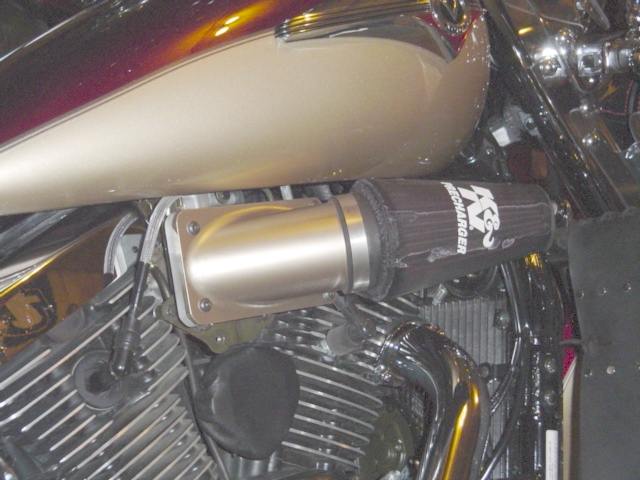
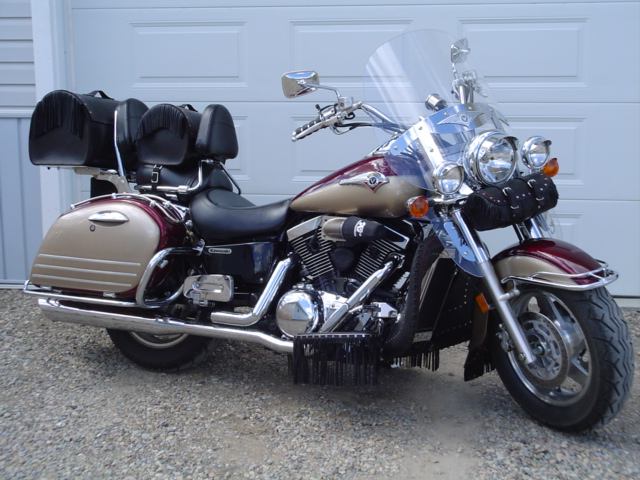
My name is Catherine, aka CycleCat, and I ride an '03 Nomad and my husband, Brian, rides an '01. If you want more power, remove the pollution control devices and add an air kit. We put an open air kit on both scoots in the last month and have quite a bit more power. Line start power is still low but that's the nauture of the beast. Nomad's are big and heavy and will never have quick line response. I was riding an 1100 Virago before I got Ruby Pearl and was quite disappointed at first with seemingly low power. Once I rode it a few times, the benefits of the 'Nad far outweigh the 2 or 3 drawbacks.
I'll send a pic of our air kits, which are homemade and that's the foul weather bag over the K&N filter. I have also sent a picture of Ruby Pearl all dressed up--I custom made all the leather accessories.
Our scoots are FI's so we didn't have to worry about carbs. We are running without a PC or TFI and have had no problems so far. We have talked to many, many people about the problems that might occur from running without a PC and have been told some people use them and some don't. We are watching the colour of the plugs for a lean problem to occur and so far the colour of the plugs has not changed. I talked to a guy that builds race bikes in this area - Alberta - and he used to sell Kaws. He says the Nomads are set at the factory to run rich coming into this area and swears we will have no problems.
The reason we built our own air kits is the cost. To bring one in from the States would cost us $541 Canadian per scoot so we saved a chunk of money. Our neighbour has a milling machine so he done the machining for us and all it cost us was the piece of pipe and the filter. We were going to have the air kits chromed, but we are looking at a 6 week turn-over time and cannot have the scoots out of commission for that long at this time of year. We painted them to match the scoots and I am going to leave mine painted because I think it looks great.
If anyone is looking for leather items for their Nomads I make quite a few things under the name of CycleCat Leather: mud flaps, 3 sizes of top luggage, fork bags, windshield bags, engine guard covers, saddlebag guard covers, kickstand covers and driveshaft covers, and footboard fringe. All of my products are made from top quality leather and are hand stitched. I have a website, but because I've added 3 new products in the last month, it is shut down so changes can be made to the product line. If anyone is interested in these items they can contact me at cyclecat@telusplanet.net and I can provide info and pics of everything.
I'll send a picture of Brian's 'Nad with his air kit and another of mine. You are more than welcome to post the pics and info.
Catherine Rarick aka CycleCat
'03 Burgandy/Champagne Nomad aka Ruby Pearl
VROC 12681
Hi, I have an 2002 Nomad and I am interested in the lowers pattern. I've ordered the tour pac from Premeux in February and am still waiting. Canadian its costing me $2023 including shipping and tax. Not cheap, but I've seen it here on a couple of Bikes and it looks great.
Regards: Mike
P.S., here are two pics of another option--a Yamaha Venture tour pac and a Radio Caddy Fairing:
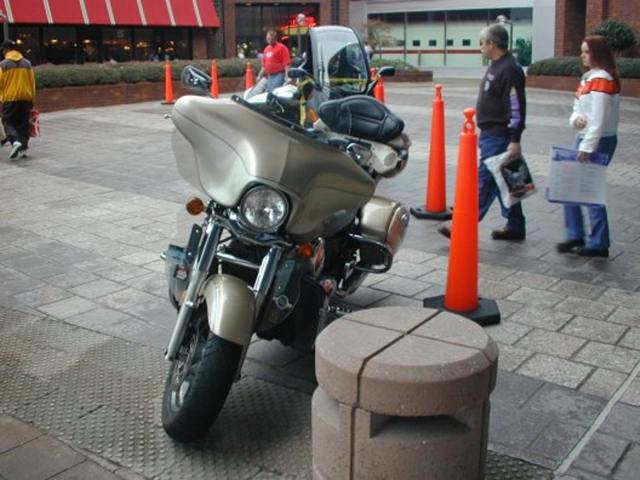
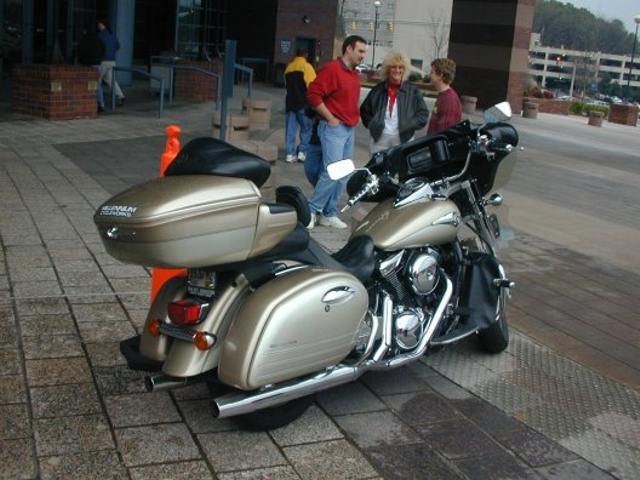
Jack, I have a new set of lowers on my Bike now. What I had to do as indicated on my drawing, was to cut a slot in the lower and mount it on the back side of the existing bracket. Mounting on the face of the bracket wouldn't work. Too much stuff in the way. That little difference of 1/4" allowed the plastic lower to align without having to deflect the plastic. What you do to mount is... slid the existing bracket through the plastic slot at a right angle, then turn the lower 90 degrees till its flush with the back of the bracket and attached. I used a small piece of stainless for a backing plate, and reused the original chrome piece to finish off the front face. There is a slight space between the face plate and the plastic, because of the bracket. But it's hardly noticeable.
If you're interested in Mike's drawing, email me. Here are pics of Mike's lowers...
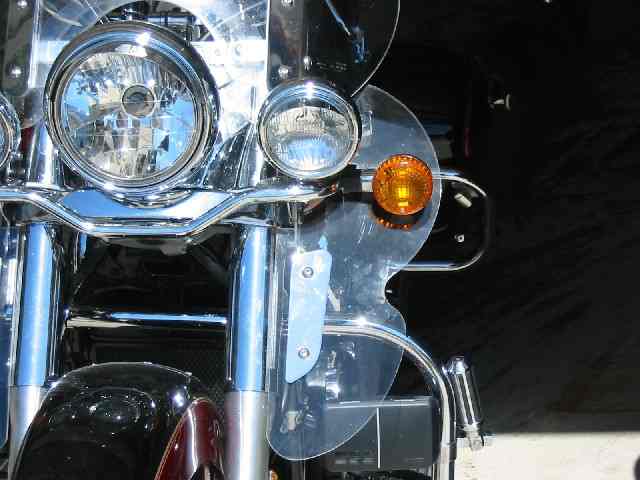
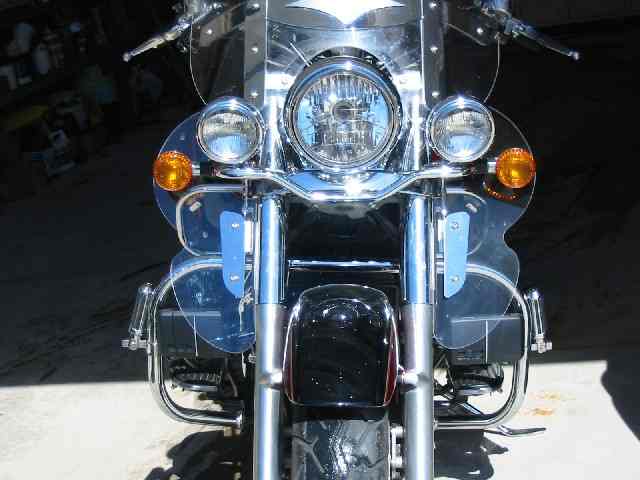
Mike has been busy..."Jack, here are some other alterations I've done: added the tour pack, Vance & Hines pipes, and a "Power Commander III". A lottttt more sound and more top end."
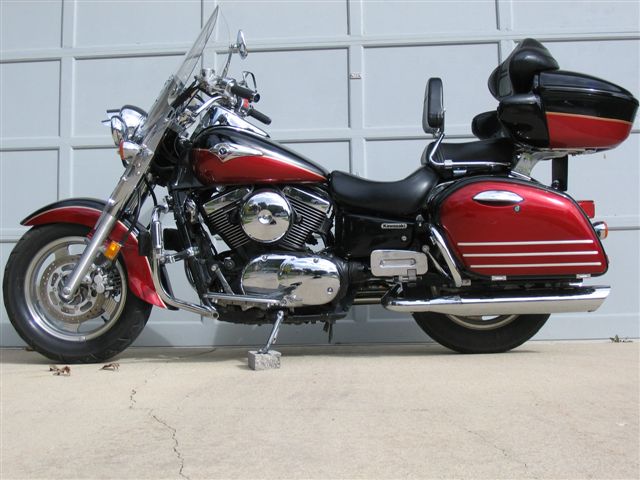
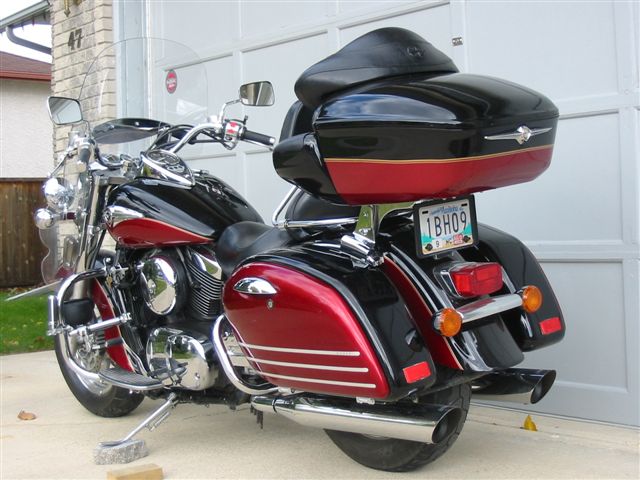
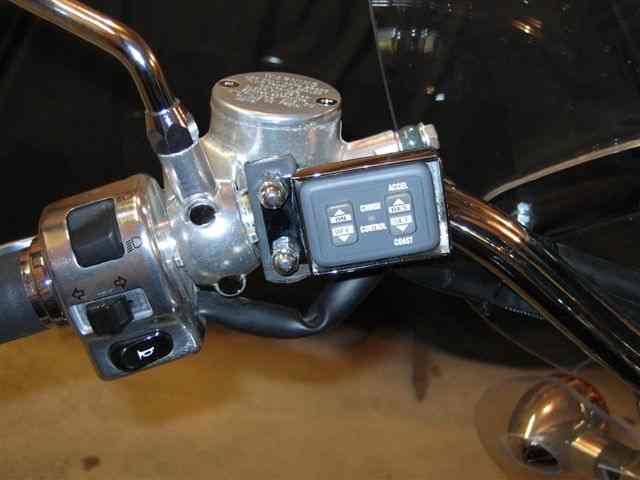
Mike continues to push the Nomad envelope. He has just added cruise control to his Nomad. "Hello Jack, I thought I would send you the latest addition to my Nomad: Cruise Control. It works like a charm. If anyone's interested, I can send you a web site address with all the details. Regards, Mike".
Rick and Regina hail from Cairo (Illinois) and shared a few pics of their 2004 Nomad. If you want to contact Rick & Regina, click the following link: E-Mail Rick and Regina.
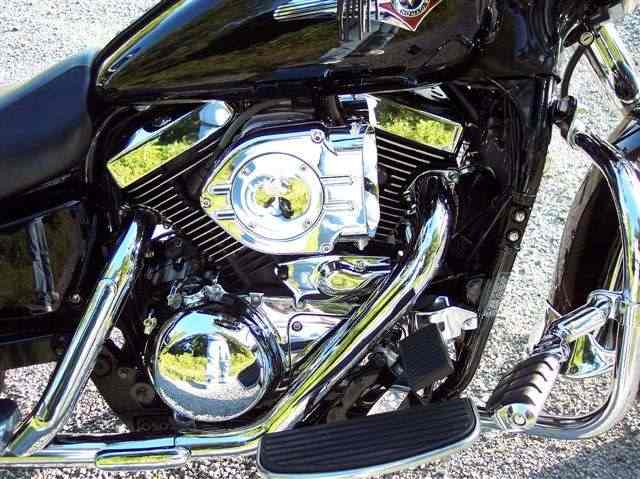
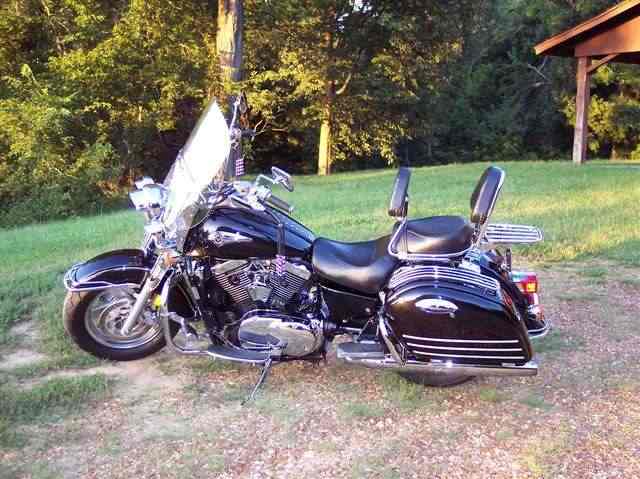
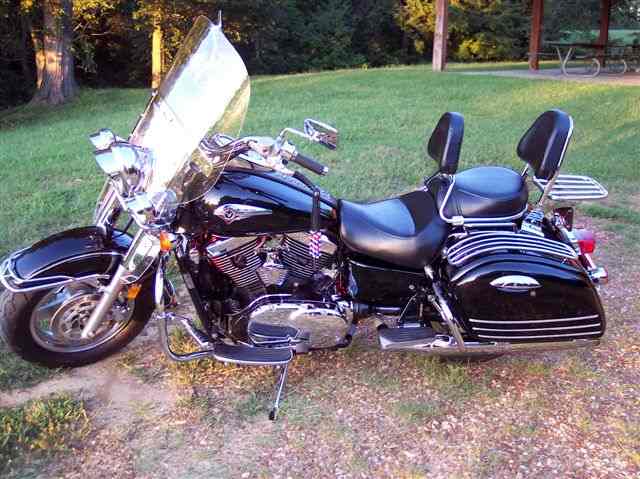
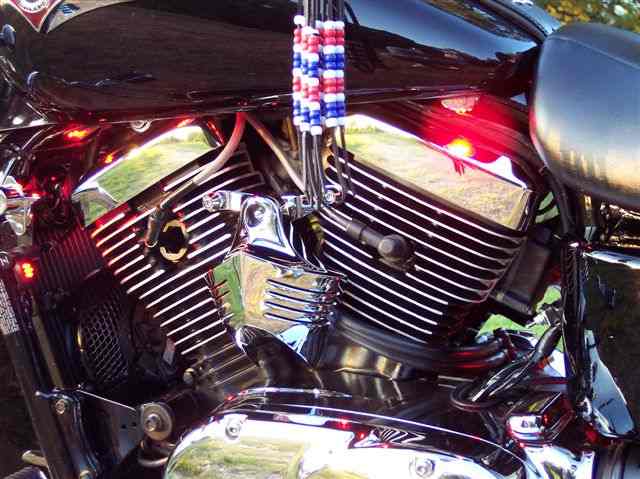
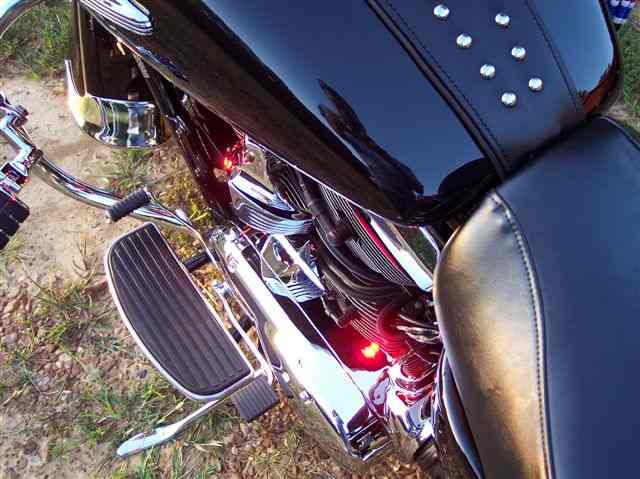
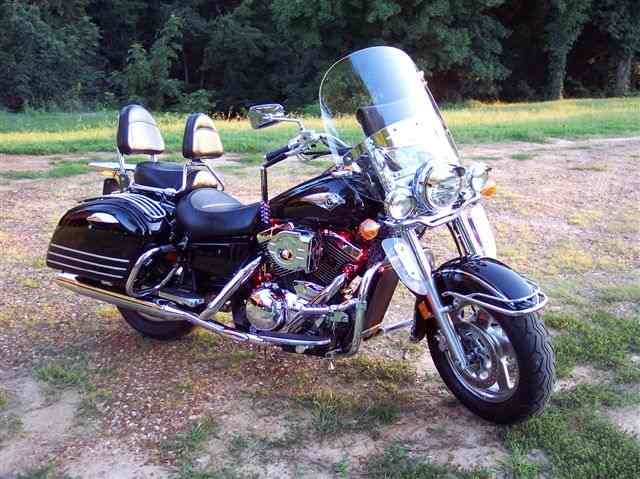
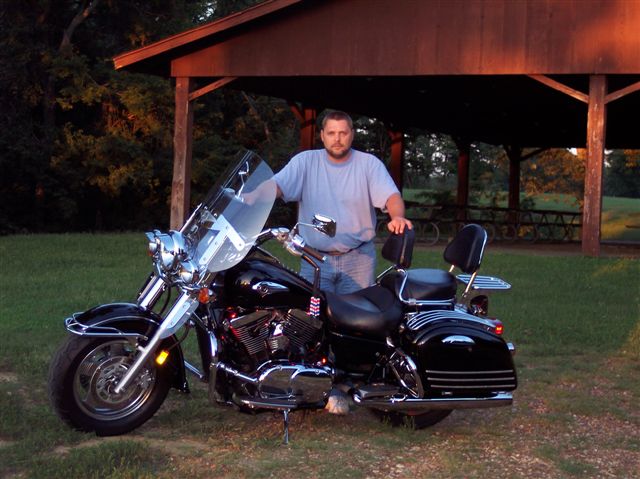
Rick and Regina have been very busy updating their Nomad with a lot of the trick stuff us Nomads have been considering....
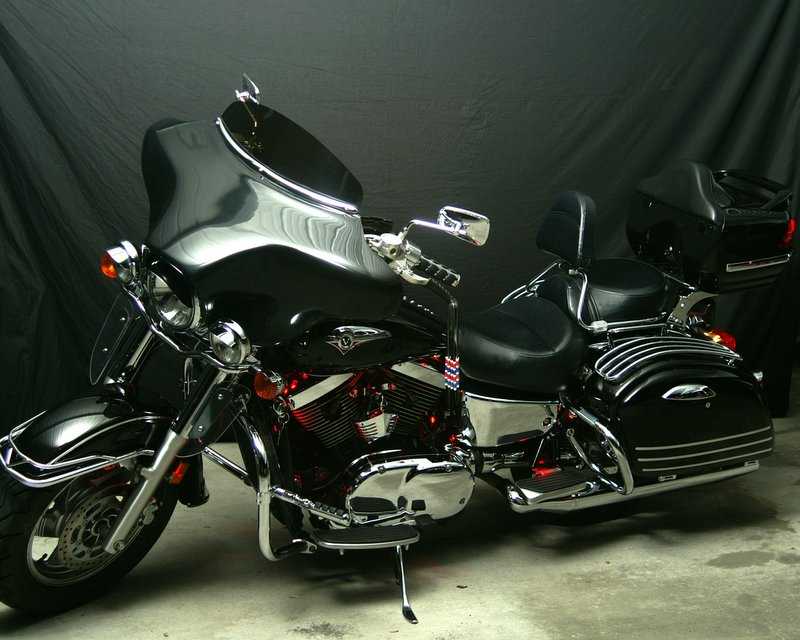
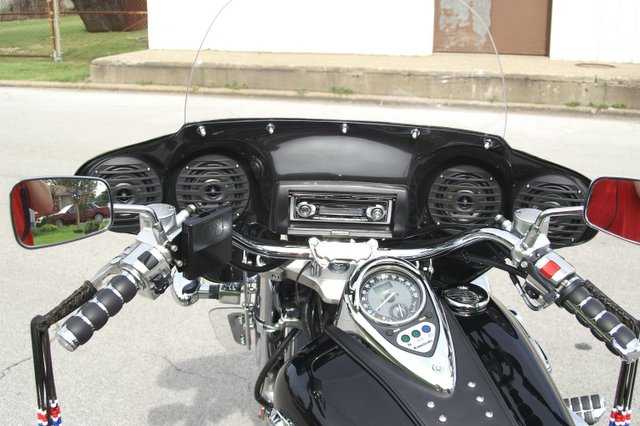
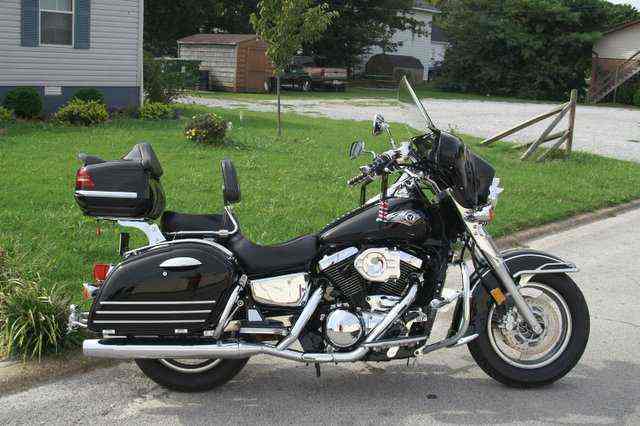
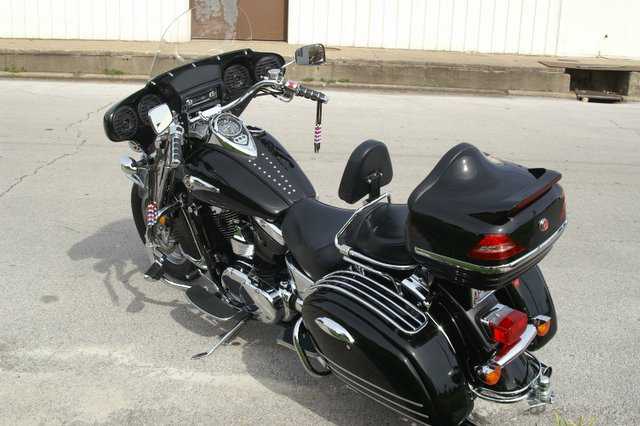
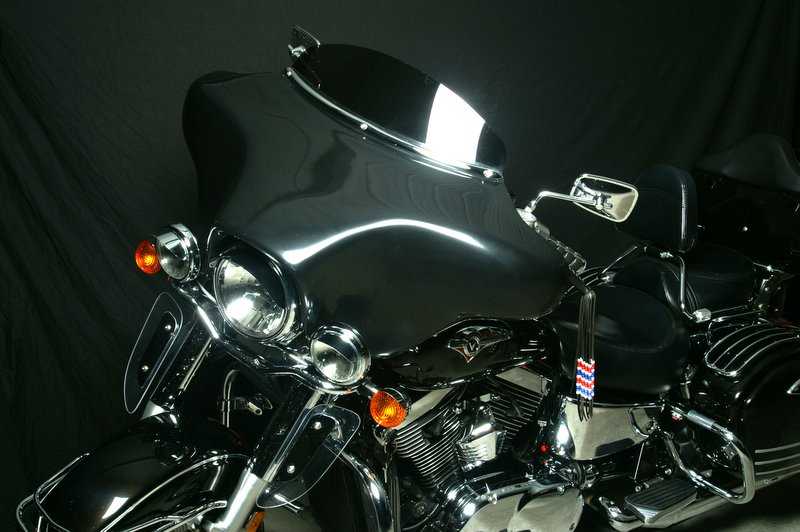
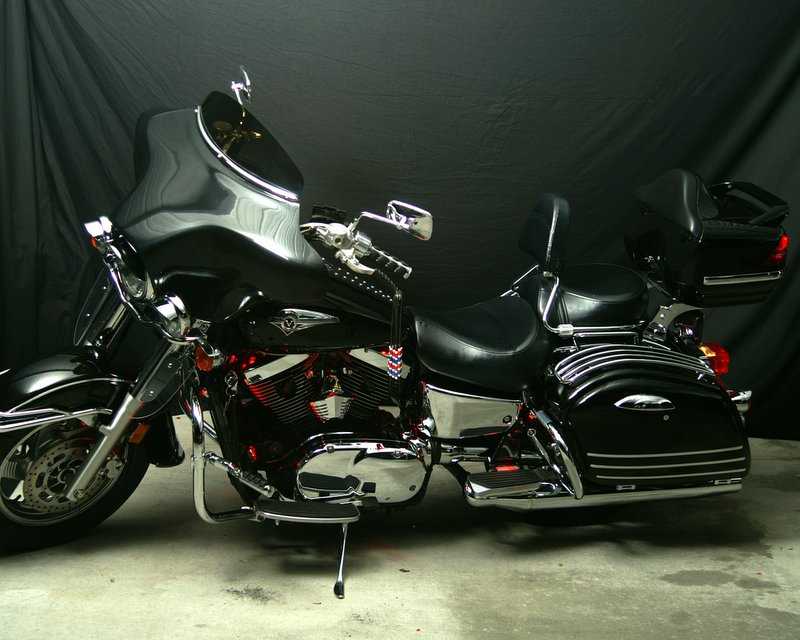
Here's Rick's notes about the fairing and trunk...
I purchased the Fairing at Hoppe Industries http://www.hoppeindustries.com It was A little costly but well worth it ($1445.00). I am very pleased with it. The radio is very loud and sounds great. The part number is KWF-ND15. To install the fairing, remove two bolts on both sides of the windshield and lift off the windshield, slide the Fairing in it's place and and put the bolts back in place. It comes with all wiring. Just run it to the battery and connect the positive and negative wires and one wire to the tail light wire and you are finished. It took about 1 hour. You can go back to the stock windshield in about 15 minutes. The wires just plug into the fairing so you won't have to re-wire.
I purchased the trunk at http://www.customcyclegear.com/products.html. The price was only $115.00 and now it includes brake, running, and tail lights. I rewired the bike to use them all. The part number is DB SERIES and you have a choice of four colors: Black, Silver, White, Scarlet Red. The trunk bolts on to your luggage rack and run wires under the passenger seat to the trunk (supply your own wires to the trunk) once at the trunk you just plug your wires into the wires that are in the trunk. (took about an hour)
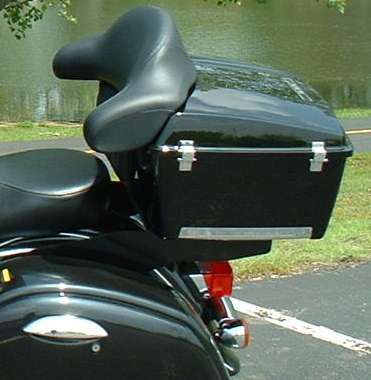
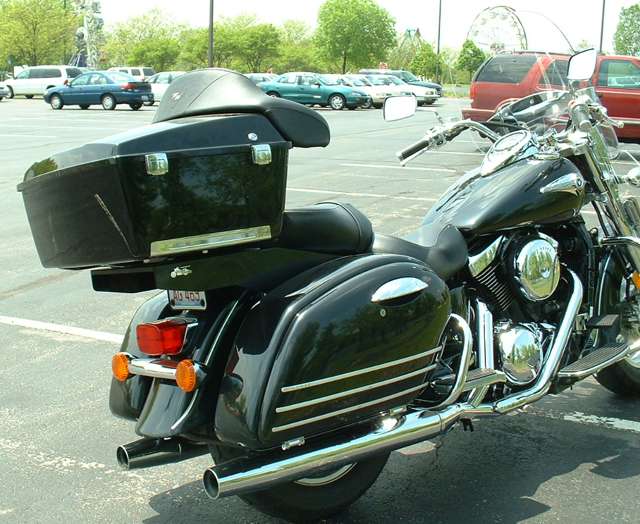
Rick just installed a Yamaha Venture trunk--here are the pics:
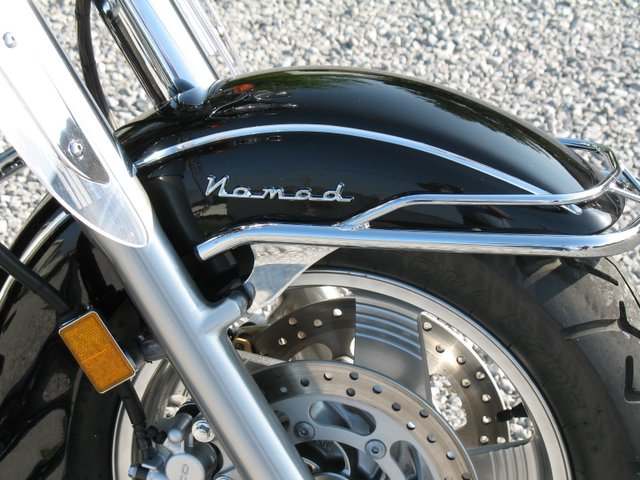
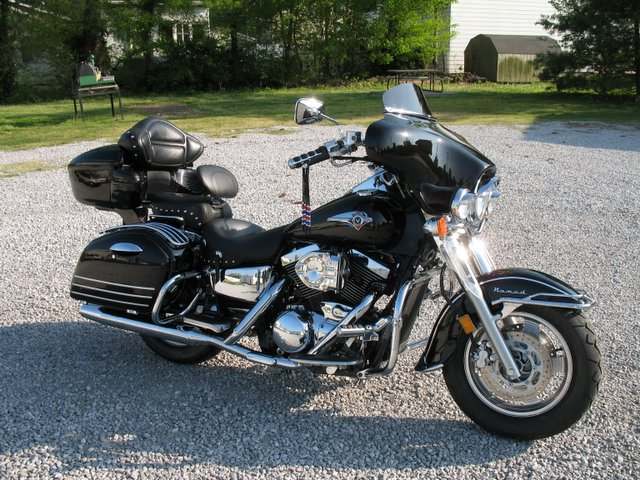
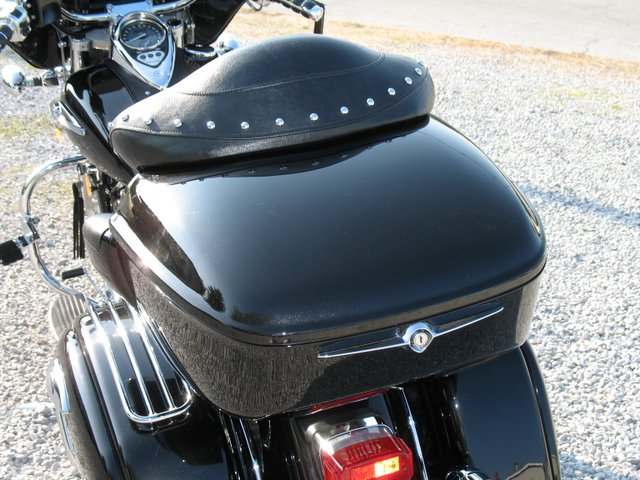
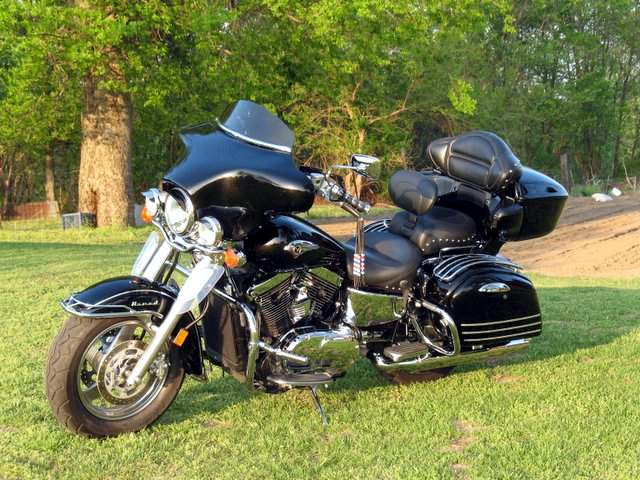
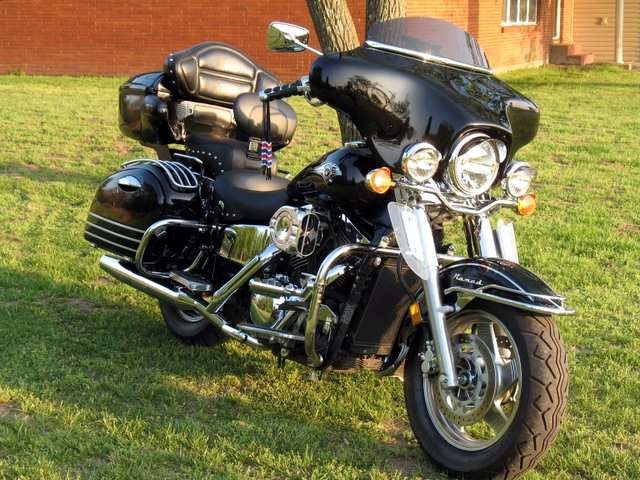
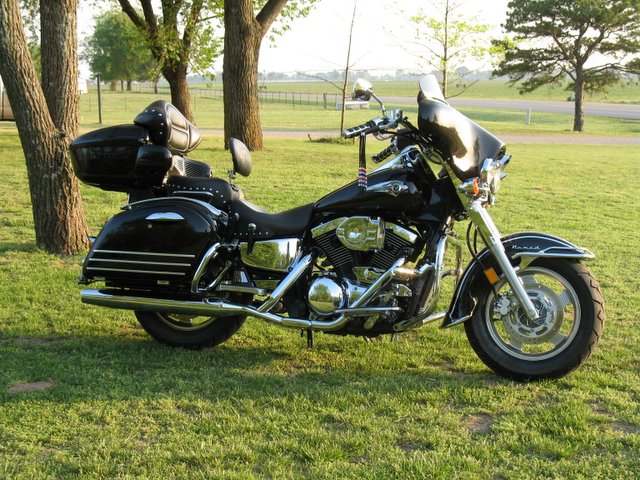
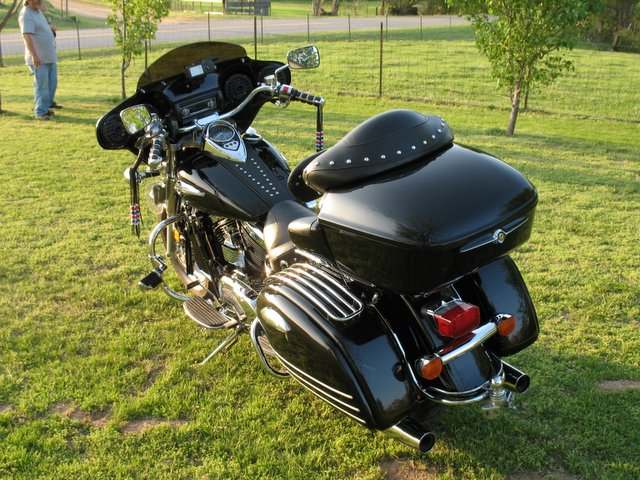
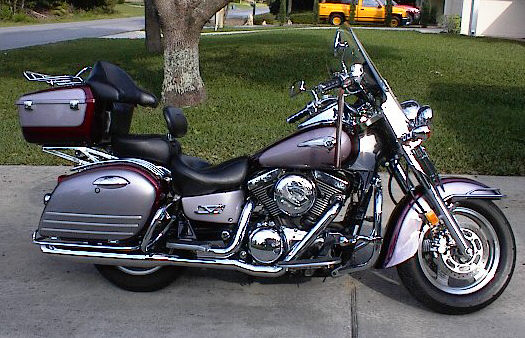
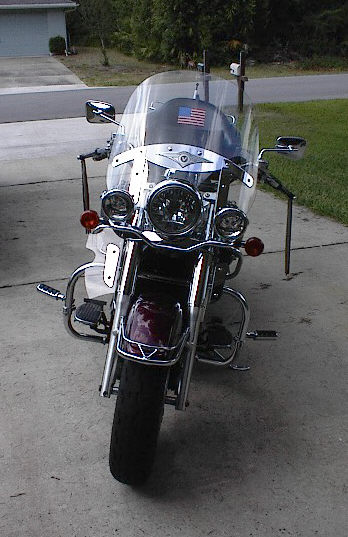
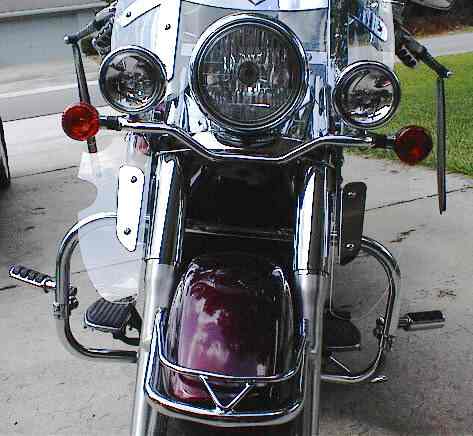
Check out John's wild blue metalflake paint. Absolutely bitchin man!!!! Pics four and five show his brass lowers (painted to match the bike) and his trunk.
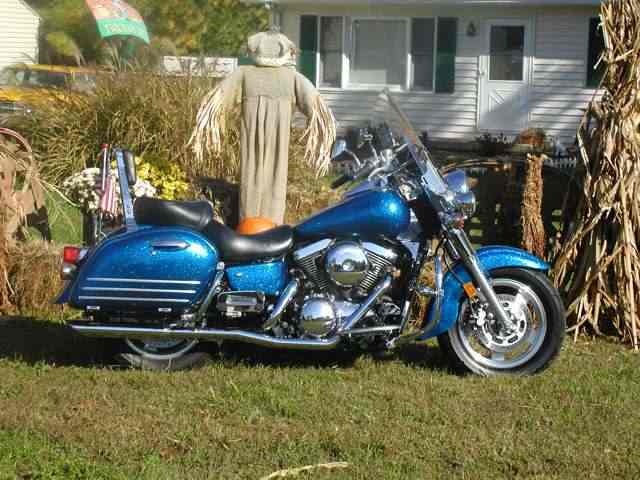
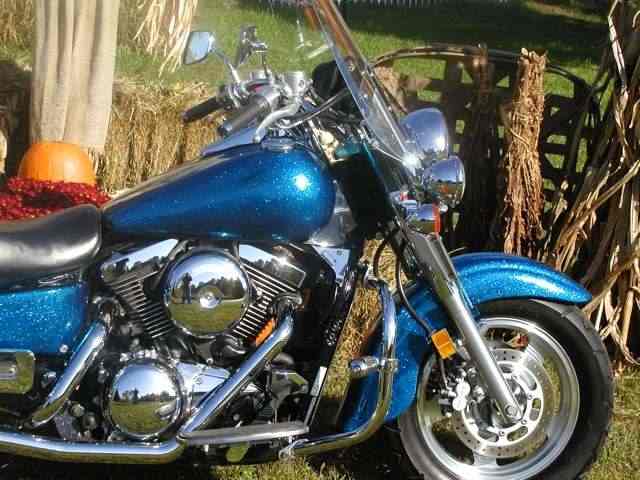
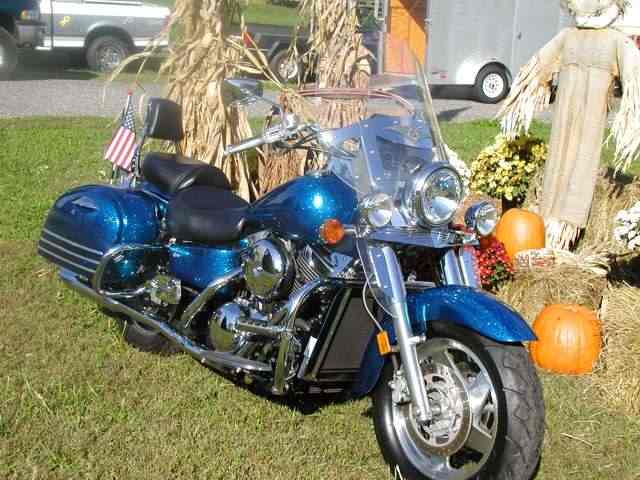
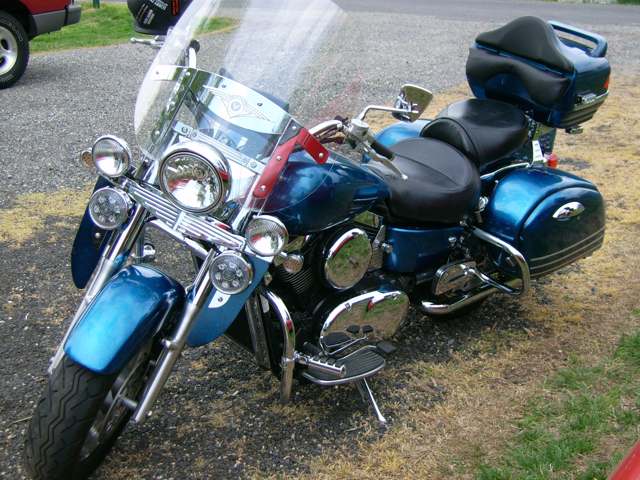
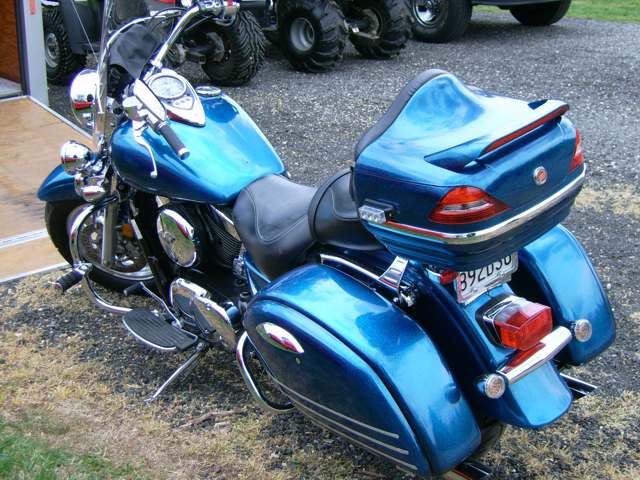
Another great Nomad and a Vulcan (Nice Paint)!
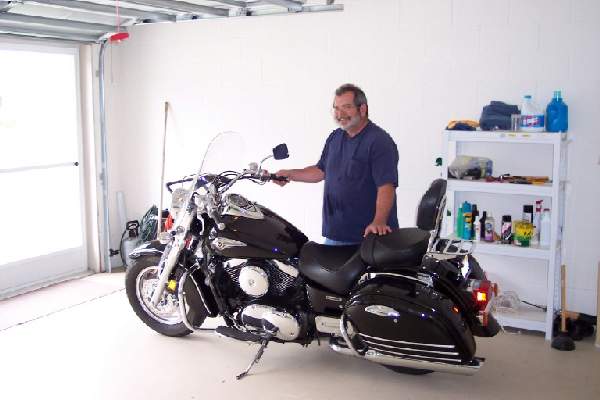
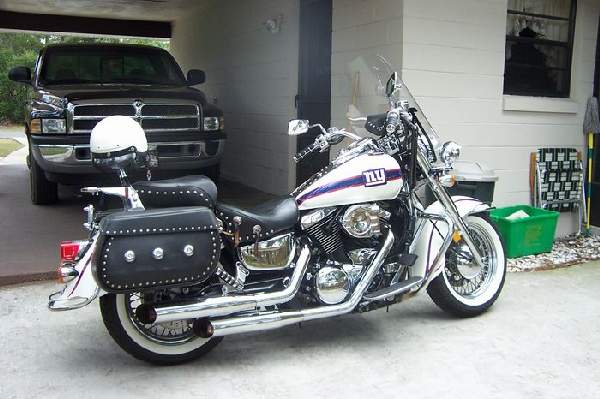
Two Nomads and Mustang seats.
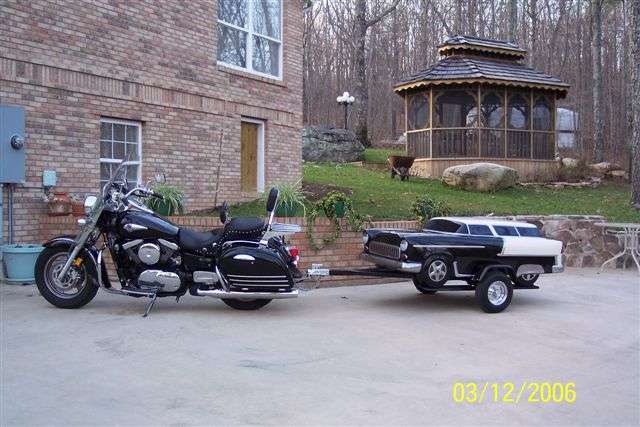
Forgot where this pic came from.....
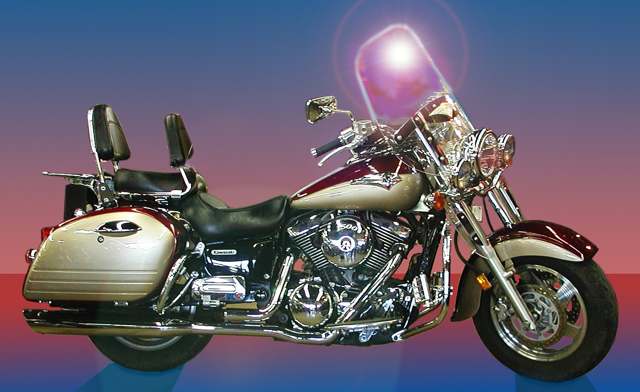
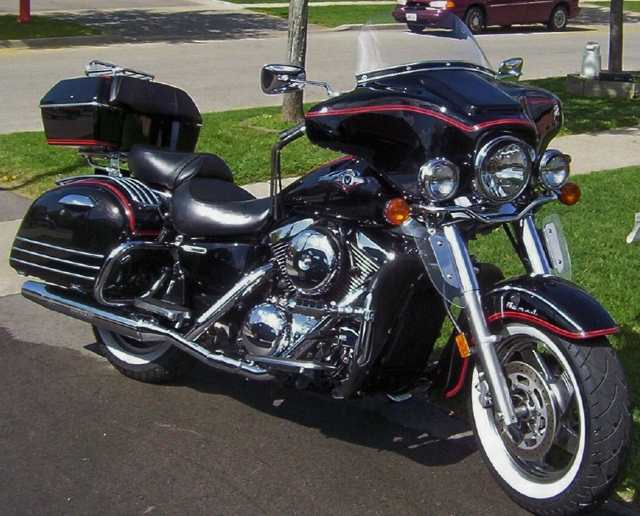
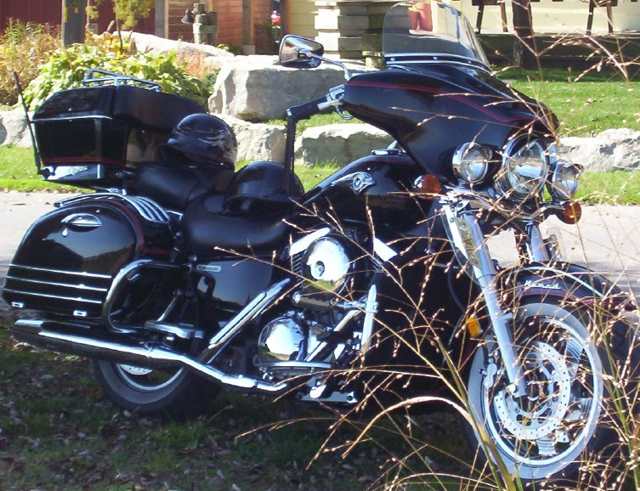
Another great Nomad. Check out the fairing, trunk, and chrome! Some of these Nomads are starting to look like....Harleys!!
If you have any questions or want to request patterns for Nomad lowers, E-mail us!